*Set your hat band aside if you ordered one, you won't need it quite yet.
Step 1.
Get your hat wet! These hats are made of braided palm leaf and are more malleable when wet. You can completely submerge your hat in a creek, water trough, or sink, whatever is easiest for you. Hold it under water for about ten seconds.

Step 2.
Start in the front with the brim. Since this is a tutorial on how to achieve the buckaroo style shape, we’re going to press the brim down. You can grab the crown with one hand and use it as leverage to push down on the brim. Repetitive and firm movements achieve the best results. These hats are pretty forgiving, so you can crank on them. It’s better to over exaggerate the shape you want by going too far (i.e. pushing the brim down farther than you’d like.) That way, when it bounces back, which it will do, it will return to the shape you originally intended.

Step 3.
Once you’ve got the front of your brim where you’d like it, you can start working your way towards the back. You can bend each side of the brim around your finger to give more of a “taco effect” to the hat. But if you’d like to keep the sides level, just keep moving your hands to the back of your hat. Start doing the opposite motion in the back as in the front, so work on bending the brim up. You can alternate between having your non-shaping hand on the crown or inside the crown, whatever position you think gives you the most control. You have yet to shape the crown, so don’t worry about being delicate with it!
Step 4.
Come back around to the front, shaping as you go, until you meet back at the front.
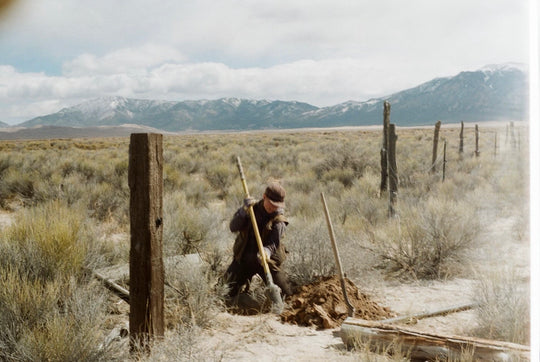
*another important note: If you’re not happy with your hat’s shape after it dries, you can always go back and fix it. You can do this a couple of times. But if you continue to fuss with it, it will shorten the lifespan of the hat because it begins to wear down the palm leaf and can lead to cracking. We still make adjustments to our hat over time, like when we get caught in a rainstorm, but we try and be careful not to mess around with it too much.
Step 5.
Arguably the hardest and most important part: the crown! Place one of your hands inside the crown and spread your fingertips around the circumference of the crown. Take your other hand and push down on the center of the crown (from the outside). You can shape your crown down as far as you’d like, using your fingertips to pinch as you go. Try not to pinch too hard and create a sharp edge since that makes the hat brittle and more likely to tear. Instead, try and think about creating a rounded pinch by using your fingers on the inside of the crown to open it up.

Step 6.
Once you’re pleased with your crown and it looks level, take your hand and use your fingertips to push down on the outside of the crown. This is the reverse of the first step, so instead of pushing the top of the crown out, you’re now pushing it in.
Now is also a good time to pull the hat back and see if it’s symmetrical or has several areas that need retouching.

Step 7.
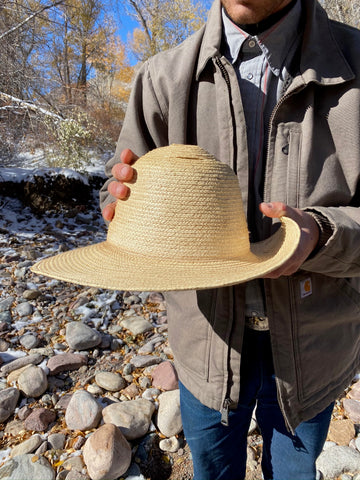
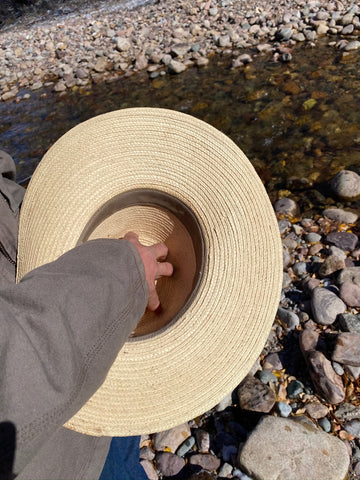
When you’re happy with the final results, we’d recommend letting it dry on your head. This allows the hat to mold to your head and take proper shape. Or you can just wear it and sweat in it, that works too! The photo below shows a hat with sides that have been pinched up a bit more. Eliminate that extra pinch and you've got yourself more of a classic buckaroo style.

Want even more guidance? Visit our Instagram for the above tutorial in video format.